Site prep determines success
How to Prepare Your Yard for Sod Installation (San Antonio Guide)
The difference between a lawn that lasts 10+ years and one that fails in 18 months is preparation.
This guide explains what proper site prep actually requires in South Texas soil.
Preparation summary
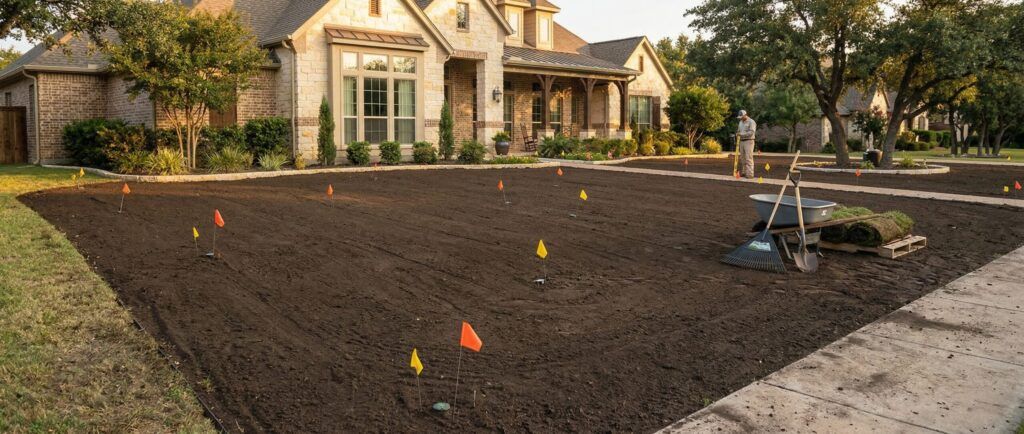
What is required before installing sod?
Proper sod preparation in San Antonio requires killing existing grass, full removal, soil tilling, grading for drainage, soil amendments if needed, compaction, and irrigation verification.Skipping these steps leads to shallow rooting and early failure.Preparation is labor-intensive but determines long-term durability.
- Suppress and remove existing grass completely.
- Till soil 3–4 inches deep to loosen compaction.
- Correct grading to prevent standing water.
- Add topsoil or amendments if native soil is poor.
- Compact and level before laying sod.
Clay soil reality
Why preparation matters more in San Antonio
San Antonio soil is often clay-heavy and compacted. Clay holds water but restricts oxygen movement to roots.If new sod is laid over compacted soil, roots struggle to penetrate and lawns decline quickly during summer heat.
Step 1: Suppress and remove existing grass
Weeds and old turf must be fully killed and removed. Simply weed-eating and laying sod on top creates layering that prevents proper rooting.
Complete removal ensures direct soil contact and eliminates competition.
Step 2: Tilling and soil loosening
Tilling 3–4 inches deep breaks compaction and improves root penetration.
- Improves drainage in clay soils
- Allows fertilizer to integrate
- Encourages deeper root development
For grass selection, compare TifTuf Bermuda sod with the lawn conditions discussed above.
For grass selection, compare Palisades Zoysia sod with the lawn conditions discussed above.
Step 3: Grading and drainage correction
Water must flow away from foundations and not pool in low areas.
If standing water exists, grading or Drainage Installation should be completed before sod is installed.
For a related next step, read Sod Watering Schedule (First 30 Days).
For a related next step, read When Is the Best Time to Install Sod?.
For a related next step, read Common Sod Installation Mistakes.
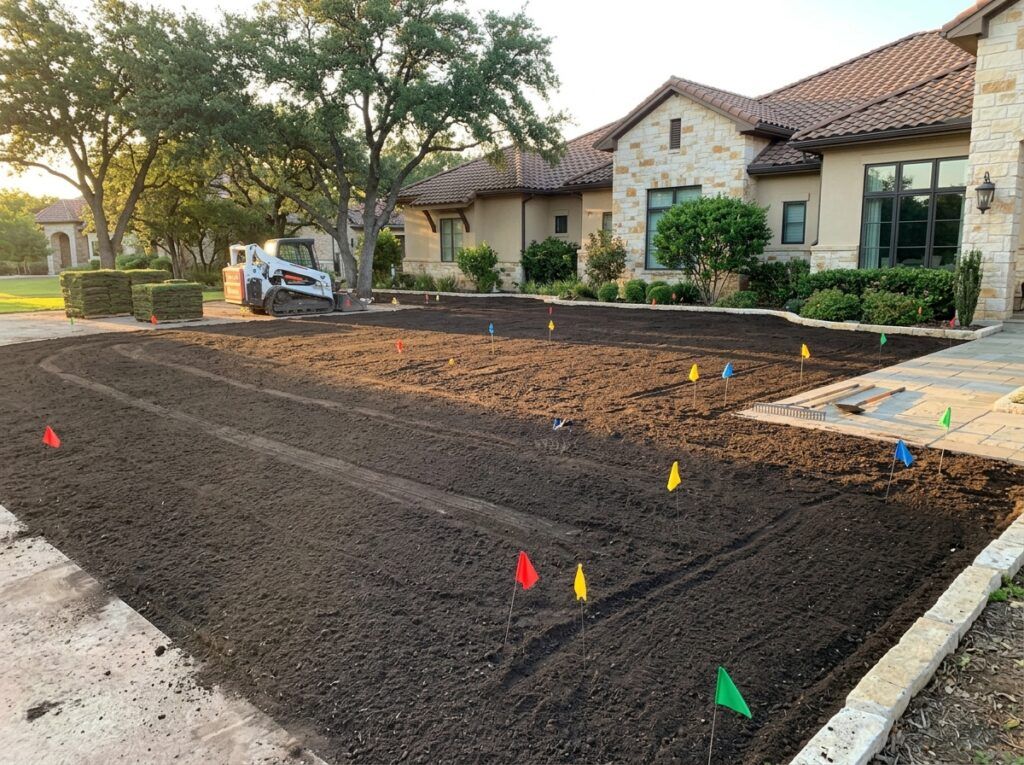
Step 4: Final leveling and rolling
After amendments and grading, soil is compacted lightly and leveled to eliminate air pockets.
Proper rolling after installation ensures full soil-to-sod contact.
Preparation affects cost
Here goes your text ... Select any part of your text to access the formatting toolbar.
How yard preparation impacts total installation cost
In San Antonio, prep work is often the largest labor component of Sod Installation.Projects with heavy weed removal, grading corrections, or added topsoil cost more than simple flat replacements.Skipping prep reduces cost short-term but increases replacement risk. Before scheduling work, review our sod care policy so the project expectations are clear.
- Topsoil installation: typically $100–$200 per yard.
- Haul-off of debris may add cost.
- Grading corrections increase labor.
- Drainage systems are separate from sod pricing.
Preparation FAQs
Sod preparation questions
Answers about soil prep and grading before installation.
See All Frequently Asked QuestionsTypically 1–2 days depending on yard size and corrections required.
If you share a few details about your yard, we can give you a clearer recommendation.
Related: Seasonal Yard Clean-Ups, How Long Do Retaining Walls Last?, How to Prepare Your Yard for Summer
Yes, but it reduces long-term replacement risk.
If you share a few details about your yard, we can give you a clearer recommendation.
Related: How Long Does Artificial Turf Last?, How Long Does Outdoor Lighting Last?, Damage, Risk & Liability Policy
Yes. Standing water will damage new sod quickly.
If you share a few details about your yard, we can give you a clearer recommendation.
Related: Signs Your Yard Has Drainage Problems, Why Standing Water Is Dangerous for Lawns & Foundations, Damage, Risk & Liability Policy
Not always. It depends on soil condition and grading needs.
If you share a few details about your yard, we can give you a clearer recommendation.
Related: Signs Your Yard Has Drainage Problems, Does Yard Grading Fix Drainage?, When Do You Need a Retaining Wall?
In compacted clay soil, yes. It improves drainage and root growth.
If you share a few details about your yard, we can give you a clearer recommendation.
Related: Signs Your Yard Has Drainage Problems, Yard Drainage Cost Guide, Drainage Installation
No. It prevents proper rooting and causes early failure.
If you share a few details about your yard, we can give you a clearer recommendation.
Related: Bermuda vs Zoysia vs St. Augustine vs Buffalo, Sod Installation, Faqs/#Can You Lay Sod Over Existing Grass
Next step
Get your yard prepared correctly the first time
We evaluate soil compaction, grade, and drainage before installing new sod to ensure long-term performance.