Keep beds sharp without overspending
How Often Should You Refresh Mulch in San Antonio?
Mulch doesn’t last forever—sun, rain, and foot traffic all take a toll. Here’s a practical way to decide when it’s time for a top-off, a full refresh, or a switch to rock in San Antonio’s climate.
Request Your Free EstimateRule-of-thumb timing
How often should mulch be refreshed in our area?
Most San Antonio landscape beds benefit from a mulch refresh about once per year. High-visibility front beds with dyed mulch often get touched up every spring, while shaded side yards and back beds can sometimes go 18 months before they truly need attention.Instead of watching the calendar only, look at depth and coverage. If you’re under roughly 2 inches in most spots, seeing bare soil, or the color is completely washed out, it’s time for a top-off or full refresh.
- Many beds need a mulch refresh about every 12 months in San Antonio
- Front beds with dyed mulch may need yearly color top-offs
- Shaded beds with hardwood mulch can sometimes go 18+ months
- Focus on depth (about 2–3 inches), coverage, and weed pressure—not just calendar dates
- At some point, it’s cheaper to do a proper clean-out than endless thin top-offs
Condition-based decisions
How We Decide When Mulch Actually Needs Attention
We don’t recommend re-mulching on a blind schedule. On real jobs, we walk the beds, scrape down to soil, and look at what’s happening under the top layer. That tells us if you need a light cosmetic refresh or a full clean-out and reset.
1. Look at depth, not just color
Color is what you notice from the street, but depth is what protects your soil and plants. For most residential beds in San Antonio, we aim for roughly 2–3 inches of settled mulch.
- If your average depth is under about 2 inches, weeds come through easier and soil dries out faster.
- If you still have 2–3 inches but the top 1/2 inch is faded, a light top-off may be all you need.
- Deep piles around trunks or stems are a problem; we’ll often reshape or pull mulch away from plant crowns during a refresh.
We use a simple hand tool to check depth in multiple spots, not just where mulch looks thick.
2. Pay attention to where the mulch is failing first
In our heat and clay soils, mulch doesn’t break down evenly. The sunniest, most exposed spots go first.
- South- and west-facing beds fade and thin out faster than shaded courtyards.
- Windy corners and downspout areas lose more material in heavy rain.
- Edges against lawn or walks often show bare soil first as mulch migrates.
Sometimes we’ll recommend a partial refresh that focuses on those high-traffic or high-visibility zones, especially if the rest of the bed is still in good shape.
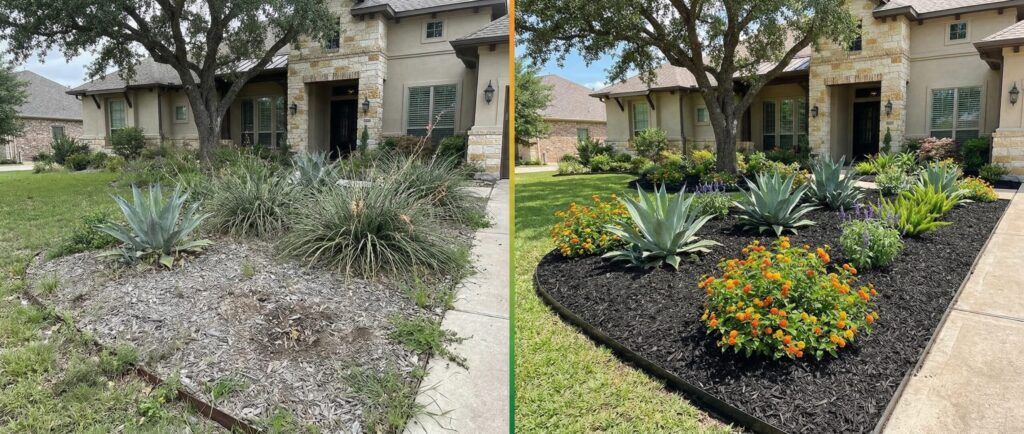
For ground-cover material planning, compare cedar mulch with the site conditions discussed above.
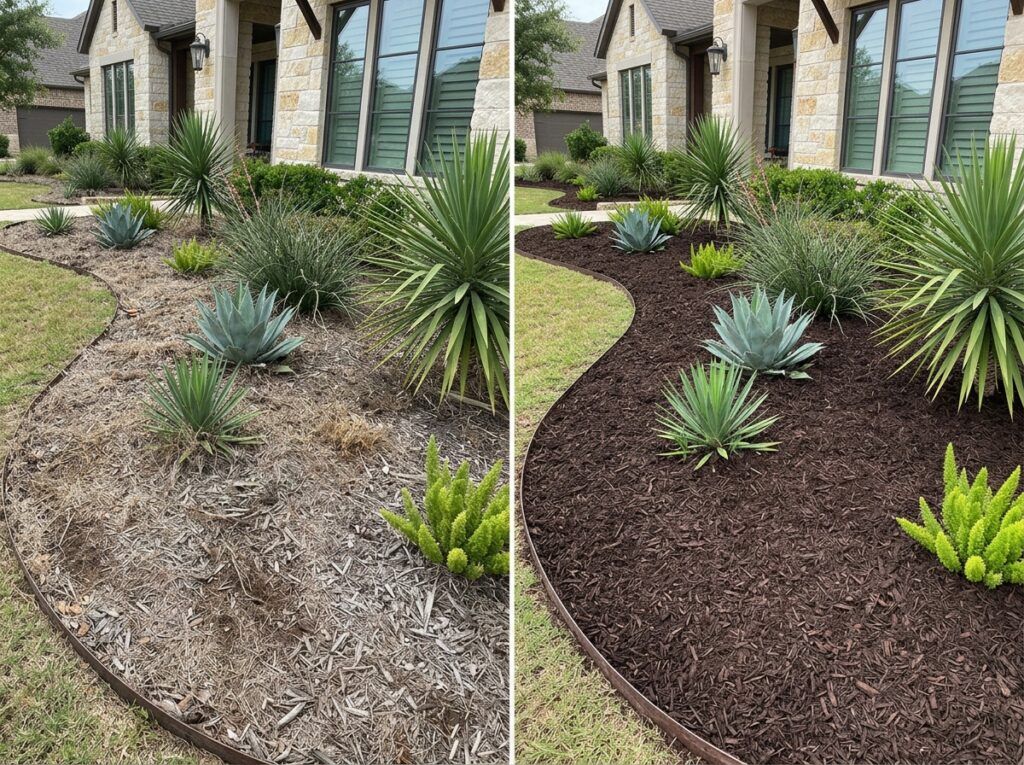
For ground-cover material planning, compare dark native mulch with the site conditions discussed above.
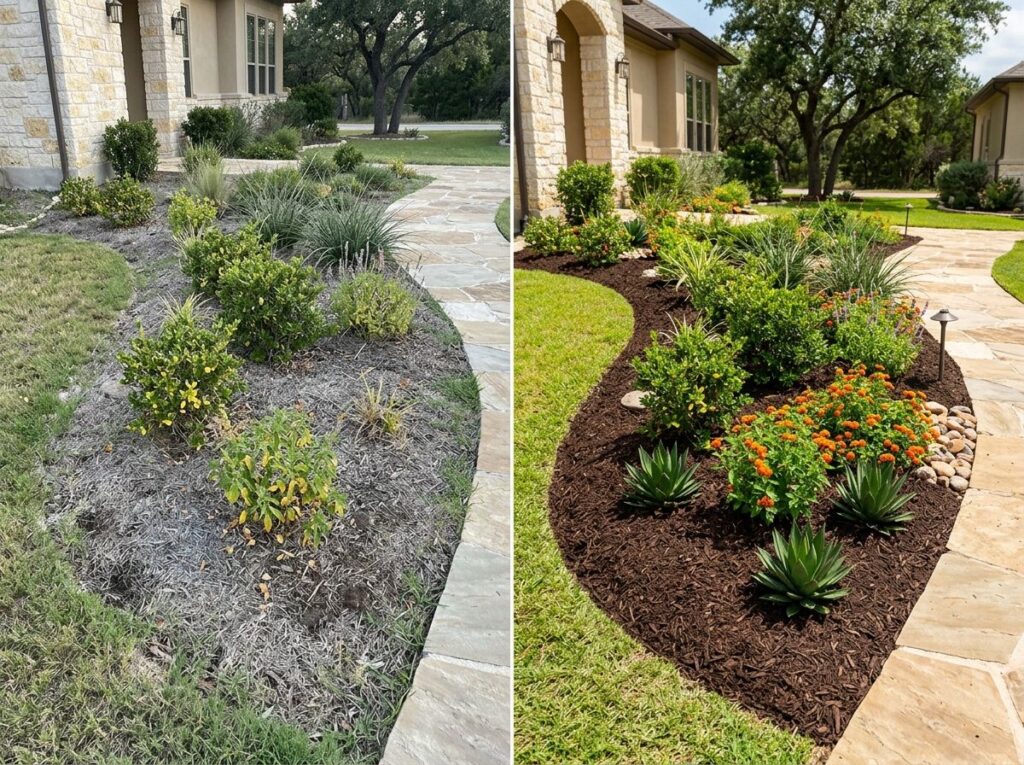
For ground-cover material planning, compare native mulch with the site conditions discussed above.
3. Consider the mulch type you’re using
Different materials age in different ways:
- Shredded hardwood breaks down slowly and improves soil, but loses color on the top layer in the first year.
- Cedar and aromatic mulches tend to resist insects and decay, but they still fade under strong sun.
- Dyed mulches usually need more frequent color refreshes, especially bold blacks and reds.
- Pecan shell or specialty organics behave more like a soil amendment over time.
If you’re tired of refreshing mulch often in one area, that might be a good place to switch to a longer-term ground cover like decorative rock or low-growing perennials as part of a full Landscape Bed Installation.
For a related next step, read Low-Maintenance Landscape Bed Ideas.
For a related next step, read How to Design a Clean, Modern Front Yard.
For a related next step, read Landscape Bed Installation Cost Guide.
4. Decide when to top-off vs. start over
There’s a point where adding one more thin layer on top of old, compacted mulch doesn’t make sense. We look for:
- Multiple thin layers that have matted together and are shedding water.
- Heavy leaf and twig buildup that’s effectively forming a thatch layer.
- Large level differences between the bed and adjacent turf, walks, or driveway.
In those cases, a clean-out and reset usually gives you a better result and sets the stage for easier Seasonal Yard Cleanups in future years.
Here goes your text ... Select any part of your text to access the formatting toolbar.
Typical Refresh Cycles by Mulch Type
| Mulch Type / Ground Cover | Typical Refresh Frequency | What Usually Fails First | Best Use Areas | Notes for San Antonio Climate |
|---|---|---|---|---|
| Shredded Hardwood Mulch | Every 12–18 months | Color fade and gradual breakdown | Foundation beds, around shrubs and trees | Handles heat well, decomposes into soil; expect faster fade in full sun. |
| Cedar or Aromatic Mulch | Every 12–18 months | Color fade on top layer | Beds near entries, areas where scent is a bonus | Resists insects, but can dry out in extreme heat; top-offs keep it looking fresh. |
| Dyed Mulch (Black / Red / Dark Brown) | Every 9–12 months | Dye fade and wash-off on high-rain years | High-visibility front beds and curb appeal zones | UV and rain fade color faster; most homeowners refresh yearly. |
| Pecan Shell / Specialty Organics | Every 12–18+ months | Breakdown into soil | Xeric-style beds, accent areas | Breaks down into soil profile; may not need full removal, just occasional top-off. |
| Rock (River Rock, Crushed Stone) | Not “refreshed” like mulch; cleaned and topped as needed every few years | Scattered rock, dust, and leaf buildup | Low-maintenance beds, hot or windy areas | Higher upfront cost, but much less frequent material replacement. |
Refresh vs. replace
Pros and Cons of Frequent Mulch Refreshing
PROS
- Keeps beds looking sharp and well-maintained
- Helps maintain a consistent 2–3 inch depth for moisture and weed control
- Adds organic matter to the soil over time
- Lets you correct grading and reshape beds during each visit
- Gives a natural way to adjust colors or mulch types as your landscape matures
CONS
- Yearly mulch work adds ongoing cost compared to rock in some areas
- Too many thin top-offs can create a matted layer that sheds water
- Over-mulching around trunks and stems can stress plants
- Frequent color changes can make it harder to keep beds visually consistent
- Ignoring underlying drainage problems and just adding mulch doesn’t solve water issues
Cost expectations
Here goes your text ... Select any part of your text to access the formatting toolbar.
What Does a Mulch Refresh Typically Cost?
Mulch work is usually priced per cubic yard installed, plus any prep and haul-off. Smaller, simple beds cost less per visit; large or complex projects with lots of hand work cost more. Most of the budget goes into labor: shaping beds, cleaning out debris, and spreading evenly at the right depth. Before scheduling work, review our landscape bed expectations so the project expectations are clear.
- Many professional installers quote mulch by the cubic yard installed, not by the bag.
- Front-yard-only refreshes usually cost less per visit than full-property updates.
- Steep slopes, tight access, and heavy clean-out (leaves, old mulch, soil) increase labor time.
- Combining mulch with minor planting or edging adjustments can be more efficient than doing them separately.
- If you’re refreshing every year, it can be worth looking at whether certain beds should transition to rock or more permanent plantings.
Straight answers
Mulch Refresh FAQs for San Antonio Yards
Timing, depth, and when it’s smarter to reset rather than keep topping off.
See All Frequently Asked QuestionsMost quality dyed mulches use colorants that are considered safe when used as intended. The bigger concern is buying from a reliable source and installing at the right depth so the bed drains and plants aren’t buried.
Related: Project Guidelines Policy, Landscape Bed Installation Cost Guide, Plants Care & Survival Policy
A proper refresh helps by blocking light to weed seeds, but it’s not a replacement for weed control. On many bed projects, we combine mulch work with fabric in select areas or a weed-management plan for best results.
Related: Landscape Bed Installation Cost Guide, Mulch vs Rock: Which Is Better for Your Beds?, Faqs/#Will Refreshing Mulch Help With Weeds
If the existing mulch is loose, drains well, and isn’t too deep, we can often leave it in place and just top off. If it’s matted, slimy, or piled high, we’ll remove or thin it out before adding fresh material.
Related: Landscape Bed Installation Cost Guide, Mulch vs Rock: Which Is Better for Your Beds?, Faqs/#Should Old Mulch Be Removed Before Adding New Mulch
For most shrub and tree beds, we aim for about 2–3 inches of settled mulch. Thinner than that and weeds come up easier; much deeper than that can cause issues around trunks and stems.
Related: Landscape Bed Installation Cost Guide, Mulch vs Rock: Which Is Better for Your Beds?, Faqs/#How Deep Should Mulch Be After A Refresh
No. In most beds we only remove problem areas and then top off to restore depth and coverage. Full tear-outs make sense when mulch is badly matted, holding water, or has built up too high against structures.
Related: Landscape Bed Installation Cost Guide, Mulch vs Rock: Which Is Better for Your Beds?, Faqs/#Need To Replace All Of My Mulch Every Year
If you’re refreshing the same beds every year and want less maintenance, or you have hot, exposed areas where mulch cooks and blows away, decorative rock may be a better long-term fit as part of a redesigned Landscape Bed Installation.
Related: Landscape Bed Installation Cost Guide, Mulch vs Rock: Which Is Better for Your Beds?, Landscape Bed Installation
Tidy beds, smarter schedule
Want a Mulch Plan That Fits Your Yard and Budget?
We can walk your beds, check depth and coverage, and recommend a sensible refresh schedule—whether that’s yearly top-offs, a one-time reset, or converting some areas to rock or low-maintenance planting.